In the recently concluded Microsoft Connect 2016 Conference, Microsoft made a number of big announcements. One of them was the availability of the next version of Visual Studio -Visual Studio 2017 Release Candidate. This release has a lot of cool productivity and performance features, hence I thought of installing the VS 2017 RC and getting started. In this article, I will be explaining the new installation experience with Visual Studio 2017.
You can download the Visual Studio 2017 Release Candidate here.
Once the download is complete, run the vs_Enterprise.exe file 
You will be asked to agree to Microsoft license terms and you can click on Continue.


In VS 2017, you have the option to select and install features based on your requirements – what you need for your day to day development work. This decreases the install size and also results in faster installation.
Workloads
The VS 2017 installer lets you pick and choose between different Workloads – Windows, Web & Cloud, Mobile & Gaming and Other Toolsets. You can select one or more than one workloads, based on your requirements.

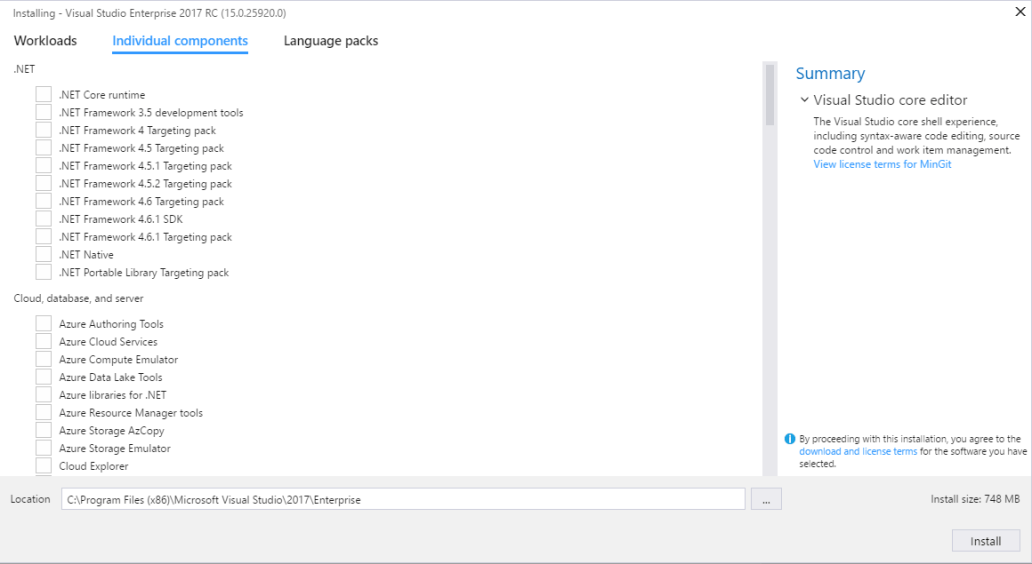
Individual components
If you decide not to use the Workloads feature for your installation, you can click the ‘Individual components’ tab and select what you want. You have lot of different options to select from under the categories –
.NET , Cloud, database, and server , Code tools , Compilers, build tools, and runtimes , Debugging and testing , Development activities , Emulators , Games and Graphics , SDKs, libraries, and frameworks , Uncategorized.
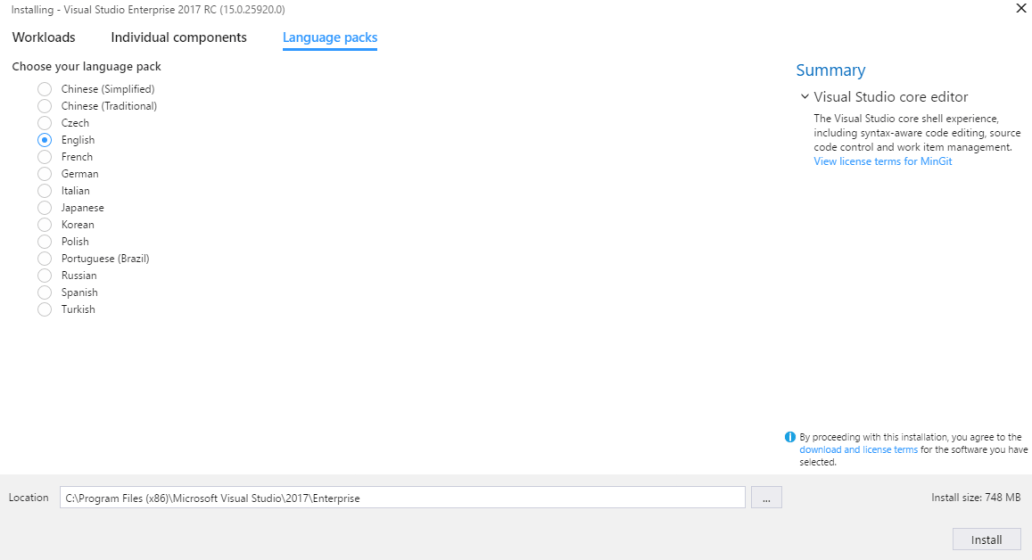
Language Packs
You can select the language of your choice. By default, English is selected.
==========================================================================
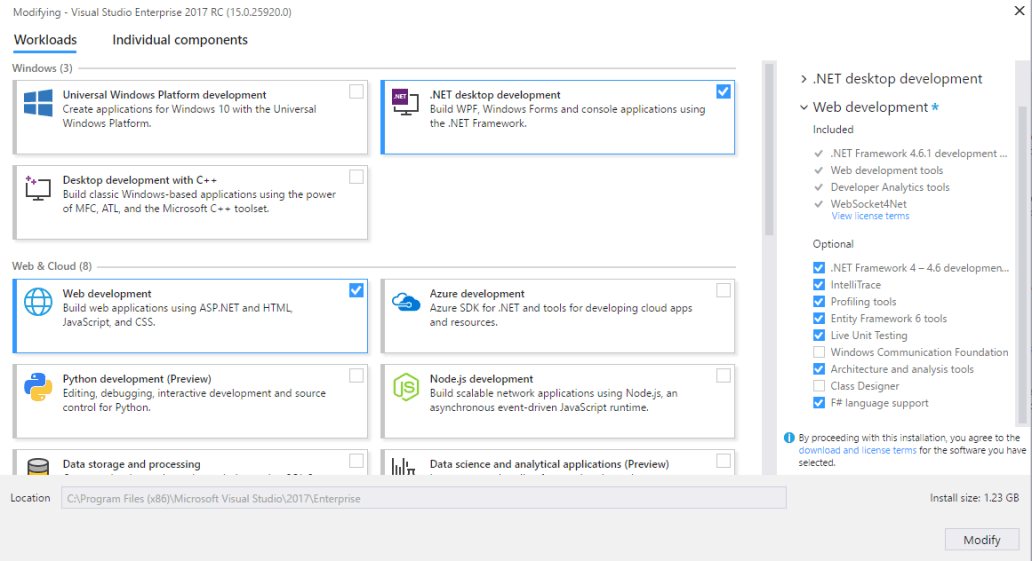
For my development requirement, Workloads seem to me the easiest way of installing VS 2017 – hence I went with it. I selected the .NET desktop development and Web development workloads.
In the Summary section, you can view the component details which will be installed and the install size.
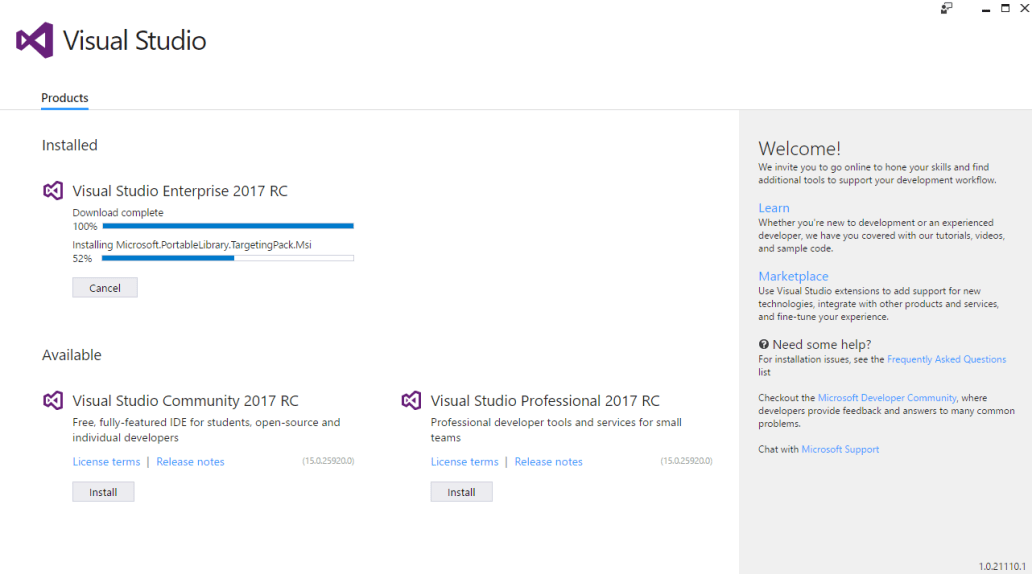
You can view the install progress in the screen below.
Once the installation is complete, its better to reboot your machine for all the changes to take effect.

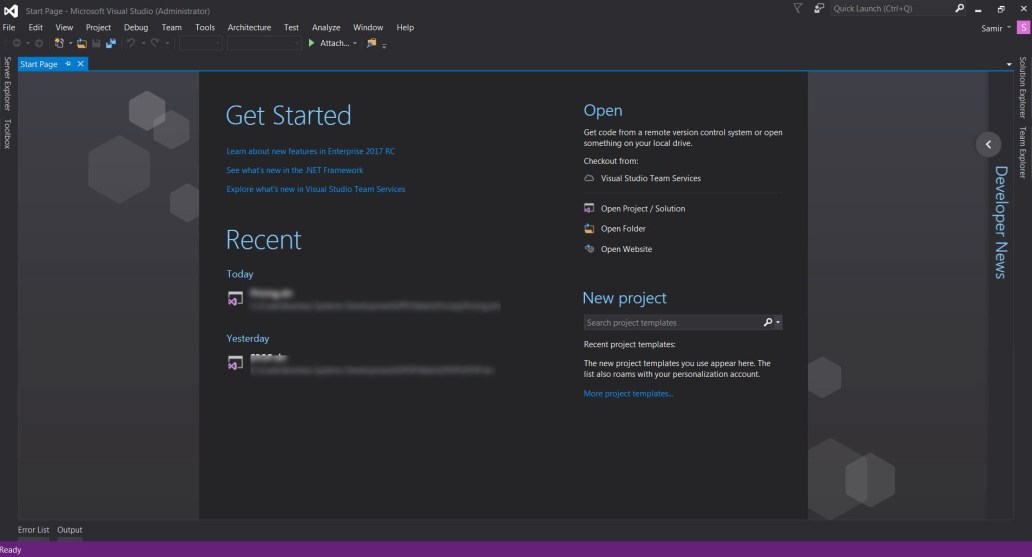
After rebooting your machine, you can click on the ‘Launch’ button.


Now you are all set up to start using Visual Studio 2017. Cheers!
Conclusion
The new installer in VS 2017 provides more power to the developers by letting them select/decide which features they want to install for their day to day work. This immensely helps to decrease the install size, since no unnecessary components are installed. The overall result is a faster installation.
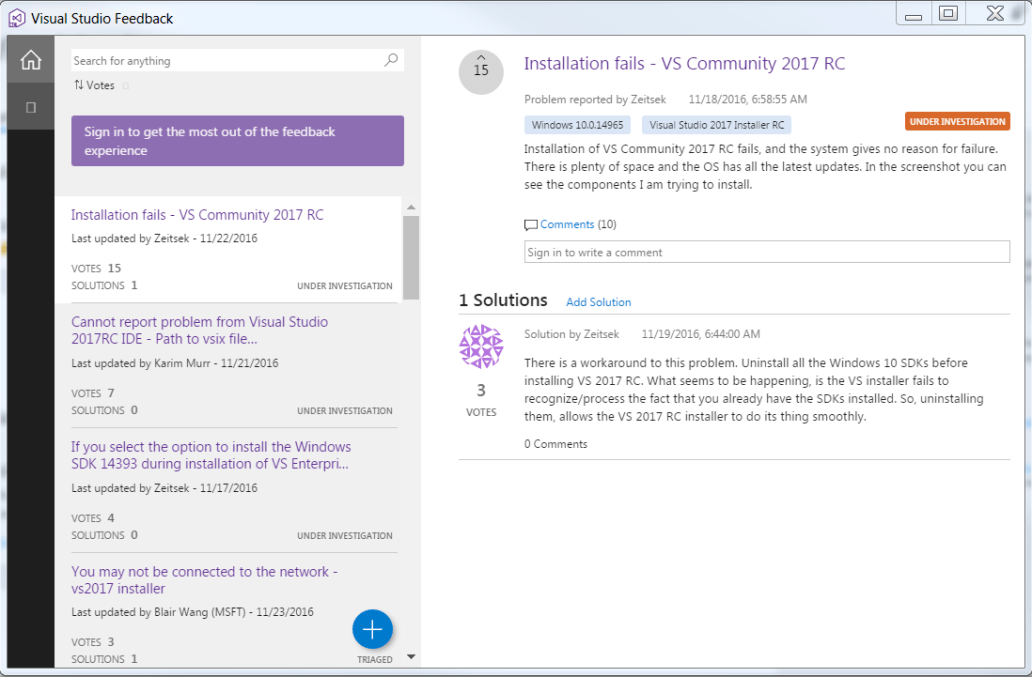
At this point, there are still few issues with VS 2017 installation and Visual Studio Team is actively working towards fixing them. If you run into some issues during installation, make sure to click on the Feedback icon at the top and send the details for investigation.
I bumped into a number of issues during the install process, and reported it to the Visual Studio Team. In my next blog post, I will briefly go through those issues and point out few things you need to differently do with VS 2017 install, as compared to VS 2015 install.
For more details, do go through the Visual Studio 2017 Release Notes.
How has your installation experience of VS 2017 been? Do post it in the comments section below.
Categories: C#, Visual Studio, Visual Studio 2017
 Attach to Process in Visual Studio 2017 not working
  Issues with Lightweight Solution Load in Visual Studio 2017
Leave a Reply